💱
Network Deployment Guide

Hotspot Network Design

Everything you need to deploy a profitable hotspot business — equipment, coverage planning, cost calculator, and trusted vendors & installers.
🔒ADMIN
⚠️

We do NOT accept MikroTik hAP lite (RB941) — it cannot handle hotspot load. Use RB951 or higher.

// Required Equipment
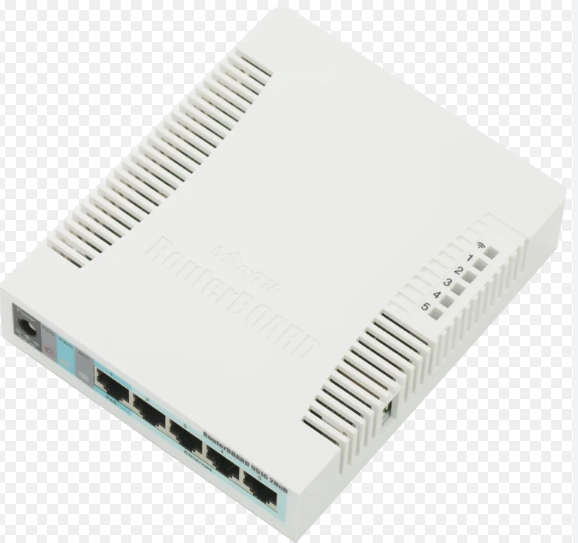
MikroTik RB951
MikroTik RB951Required
Main router and hotspot controller. Handles billing, auth, bandwidth management.
Brand NewKES 8,000
UsedKES 3,500 – 6,000
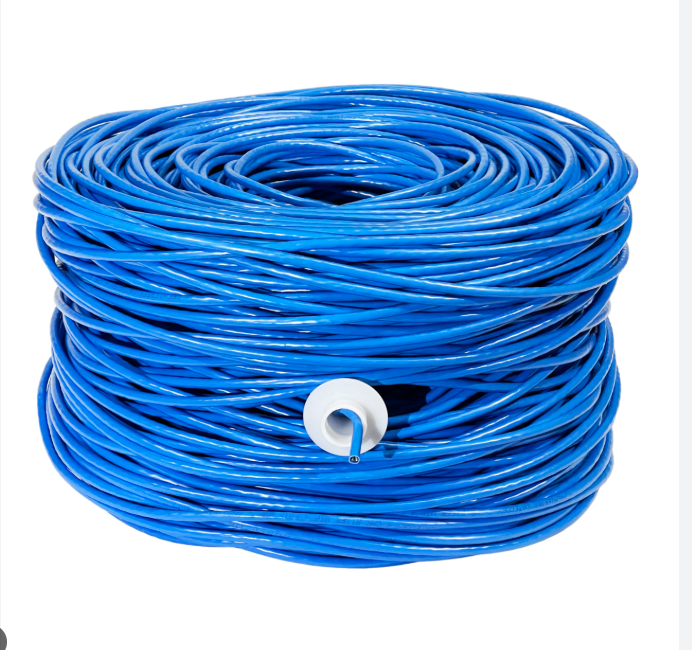
CAT6 Cable 305m
CAT6 Cable (305m)Required
Ethernet cable for MikroTik to all Tenda access points.
New BoxKES 5,000
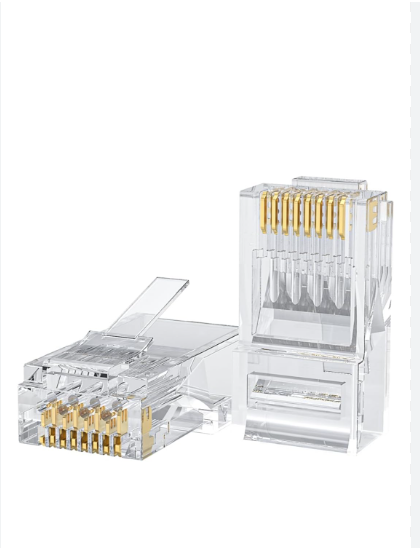
RJ45 Connectors
RJ45 ConnectorsRequired
Crimp connectors. Get extras for re-crimps.
BoxKES 500
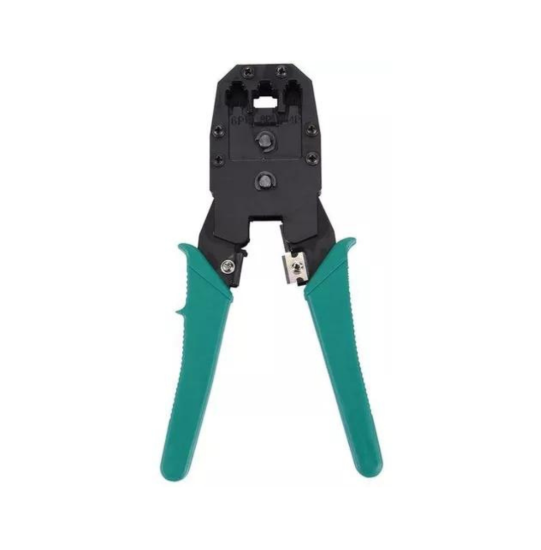
Crimping Tool
Crimping ToolRequired
Get a ratchet crimper — cheap ones waste connectors.
BasicKES 500 – 800
RatchetKES 1,200 – 2,000
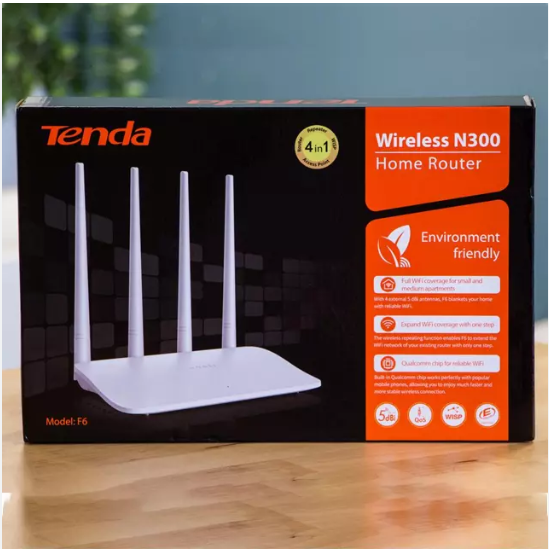
Tenda N301 Router
Tenda Router (AP)Required
Wi-Fi access point. Cheap, easy, perfect for beginners.
NewKES 1,500
UsedKES 1,000 – 1,300
🔩📎🔨
Misc Tools & SuppliesOptional
Nails, tape, cable clips, cable ties, hammer, extensions. Essential sundries for a clean install.
Full KitKES 2,000
🌐📡
Internet ConnectionRequired
Upstream internet from any local ISP.
MonthlyKES 2,000 – 5,000
💳📊
Billing SystemChoose
Vouchers, M-Pesa payments, customer accounts.
FreeKES 0
PaidKES 700

💡 Tip: Offer caretaker KES 1,000/month for troubleshooting. Saves trips.

// Coverage Planning Rules

📡 Open Space

Each Tenda covers 15m radius. For 45m = 3 Tendas.

🏢 Indoor

Walls kill Wi-Fi. Place Tenda every 7 metres.

🏗️ Multi-Storey

Each floor needs its own Tendas. Run separate ethernet.

📐 Expansion

Add more Tendas following spacing rules.

// Cost & Coverage Calculator
Network Design Calculator
Configure your deployment for instant cost estimates.
// Results
// 🎓 Beginner Tutorial — Learn MikroTik
🎬
MikroTik for Absolute Beginners

Start here if you've never touched a MikroTik before. Learn how to download Winbox, log in for the first time, give your MikroTik internet, and basic troubleshooting when things don't work.

🕒 Timestamps — Jump to any section:

🎬0:00 — Introduction
💾0:36 — Downloading & Installing Winbox
🔑2:55 — First Time Login to MikroTik
🔧4:42 — Troubleshoot Winbox Login
🌐5:25 — Giving MikroTik Internet
🛠️8:50 — Troubleshoot Internet Connection
💡

Pro Tip: Watch this video before buying equipment. If Winbox won't connect or you can't ping Google, the troubleshooting sections at 4:42 and 8:50 will save you hours. Subscribe to FreeISP on YouTube for more tutorials.

// Getting Paid. Set Up Billing
Get Paid Straight to Your Phone

Customers send money to your own mobile money number and are connected automatically. Once the network is up, this is the step that starts the money coming in.

// Growth Path

Stage 1 — Starter

MikroTik RB951 + Tenda APs. Simple, cheap, gets you earning.

Stage 2 — Intermediate

Upgrade to Ubiquiti/TP-Link EAP. Add managed switch.

Stage 3 — Advanced

Outdoor APs, sector antennas. Upgrade MikroTik at 50-70 users.

Stage 4 — Full ISP

Multiple locations, fibre, PPPoE, servers, automated billing, support team.